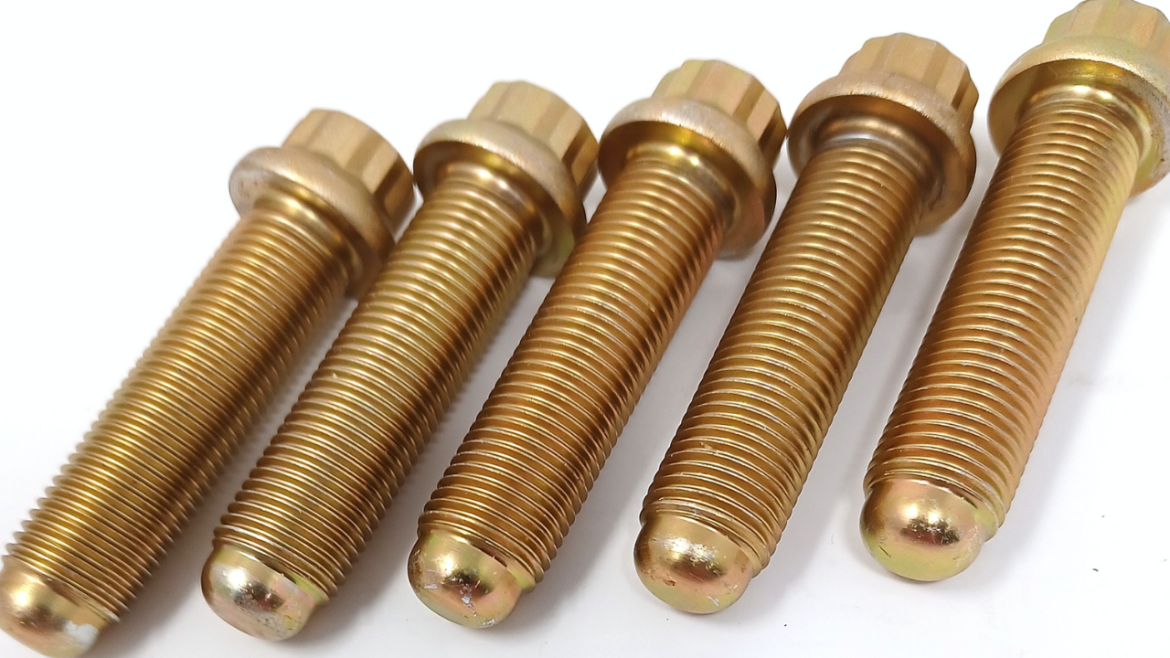
A threaded metal bolt that extends through the center hole of a wheel and protrudes from the wheel hub is known as a wheel stud on a car. It is also referred to as a wheel bolt or lug bolt. To fasten the wheel to the hub, the lug nut is then fitted onto the end of the wheel stud. Usually, it is made of hardened steel to handle the strain and load put on it when the wheel is installed on the car.
They may need to be replaced as they age since they may rust or break. Longer studs than the originals may also be necessary for custom wheels. You might assume that in order to replace the studs, you must bring your car to a shop, but doing it yourself can frequently save you money and time.
On an ancient car or during a vintage car or truck restoration job, this is one of the most typical duties you’ll encounter. Keep your A-Premium wheel stud properly fastened to the car at all times; damaged lug studs are a typical issue. This is always a wise decision. If not fixed, the incorrect connection of the wheel might cause unwelcome vibration during driving, which may damage the steering and hasten the wear of other parts of the car.
What Is The Difference Between Wheel Studs And Wheel Bolts?
Wheel studs and wheel bolts are both reliable ways to secure wheels to a car’s hub, although they do have some distinctions. Because the wheel may be kept in place while the lug nuts are tightened, wheel studs have the benefit of making it simpler to mount a wheel onto the hub.
On the other hand, because they don’t need as much alignment as wheel studs, wheel bolts may be simpler to install. Depending on the precise make and model of your car as well as your own preferences, you can choose between wheel bolts and wheel studs.
Replacement Method for a Broken Wheel Stud
Without a torque wrench, tightening wheel lug nuts can go horribly wrong. Here is a step-by-step guide on how to repair a broken wheel stud, which is also known as a lug bolt or lug nut stud, if worse comes to worst:
Remove the Wheel Lugs
Lift your car off the ground and securely support it using Jack Stands to get started. To prevent the car from rolling and perhaps crushing you, simply elevate the wheel you are working on and secure the other wheels with chocks.
Start by removing the wheel lugs after you are supported and off the ground. As soon as the wheel is unlocked, remove every lug with your impact wrench and impact socket. Set the wheel and old lugs aside once it is loose.
Remove Old Stud
This process might be enjoyable or unpleasant at times. The old studs in the hub will be removed at this stage using a hammer. They will exit the back once they are free. Set these away alongside the old lugs after removal.
Insert New Studs
You must assemble your new studs in your hub. After installing them, add a couple of grade 8 washers to the studs, and then manually tighten the lugs down on the washers. Once you’ve got these hands clenched, use your impact to tighten the stud down and draw it into the hub’s back seat. You can remove the lug and the washers after it has been seated before moving on to the other lugs.
Re-Install Your Wheel
Nearly finished! Reinstalling your wheel is the only thing left to do. Hand-tighten the lugs all the way around the wheel using your socket. Lower the vehicle to the ground after the lugs have been hand-tightened. Once you’re on the ground, use your torque wrench to finish tightening the lugs to the manufacturer’s recommended torque setting.
Summary
As you can see, this is one of the most typical duties you will encounter when working on an antique automobile or truck repair project. They may crack or rust with time, necessitating replacement. Additionally, longer studs than the ones that came with the wheels may be necessary. Although a mechanic may initially need to replace the damaged wheel lug stud, doing it yourself can frequently save you money and time.
